How to Use Injection Packer – Step by Step Guide
Injection packers are a vital tool for concrete repair and grouting projects. They create a sealed entry point for injecting various materials, like epoxy or grout, into cracks, voids, and other defects in concrete structures. Using them effectively requires careful planning and proper execution. This guide will walk you through the process step-by-step, ensuring a successful and lasting repair.
1. Preparing the Concrete Surface
Before you begin injecting, it’s essential to prepare the concrete surface for optimal results. Here’s what you need to do:
- Identify target areas: Carefully inspect the concrete to locate cracks, voids, or any other areas requiring injection.
- Clean the surface: Remove any dirt, debris, or loose material from the target area using a wire brush, compressed air, or other cleaning methods. A clean surface ensures a strong seal with the injection packer.
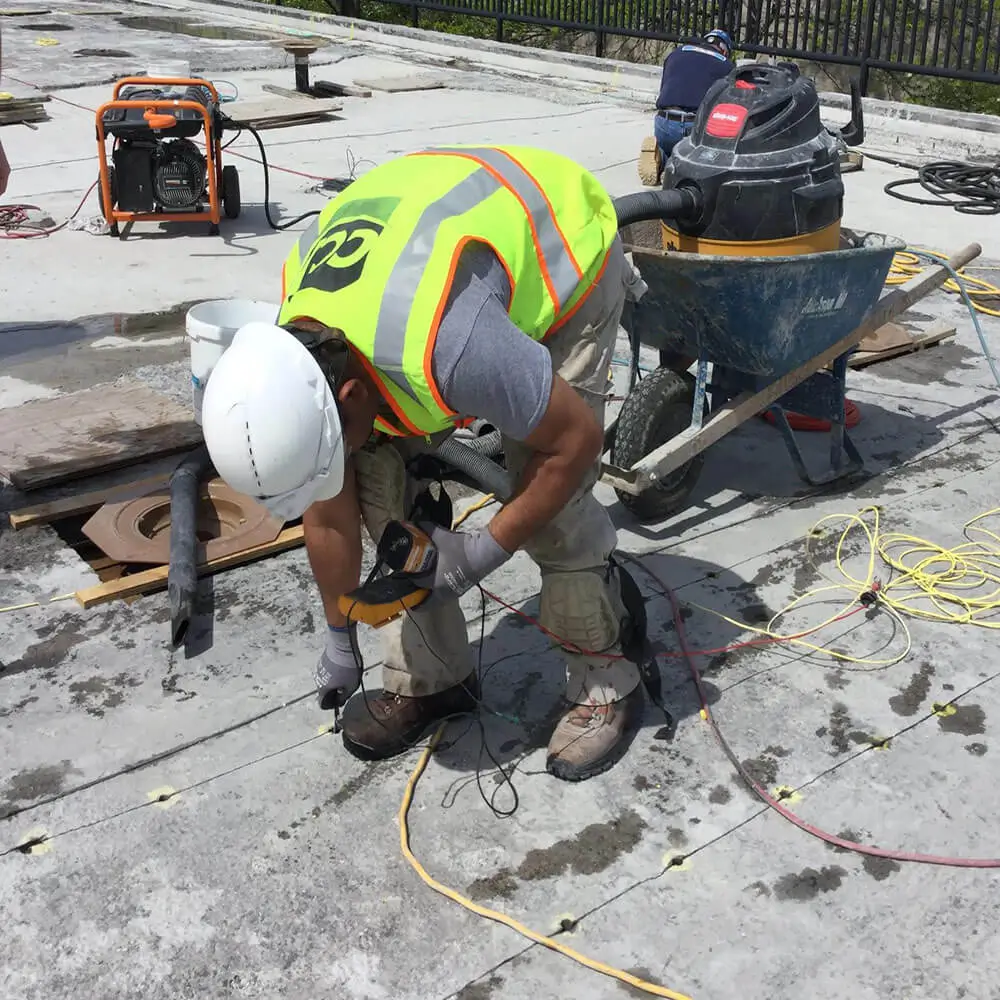
- Drill injection points: Using a drill bit sized specifically for your chosen injection packers, create holes at the designated injection points.
2. Selecting and Installing the Packer
Choosing the right packer and proper installation are critical for a successful injection. Here’s how to do it:
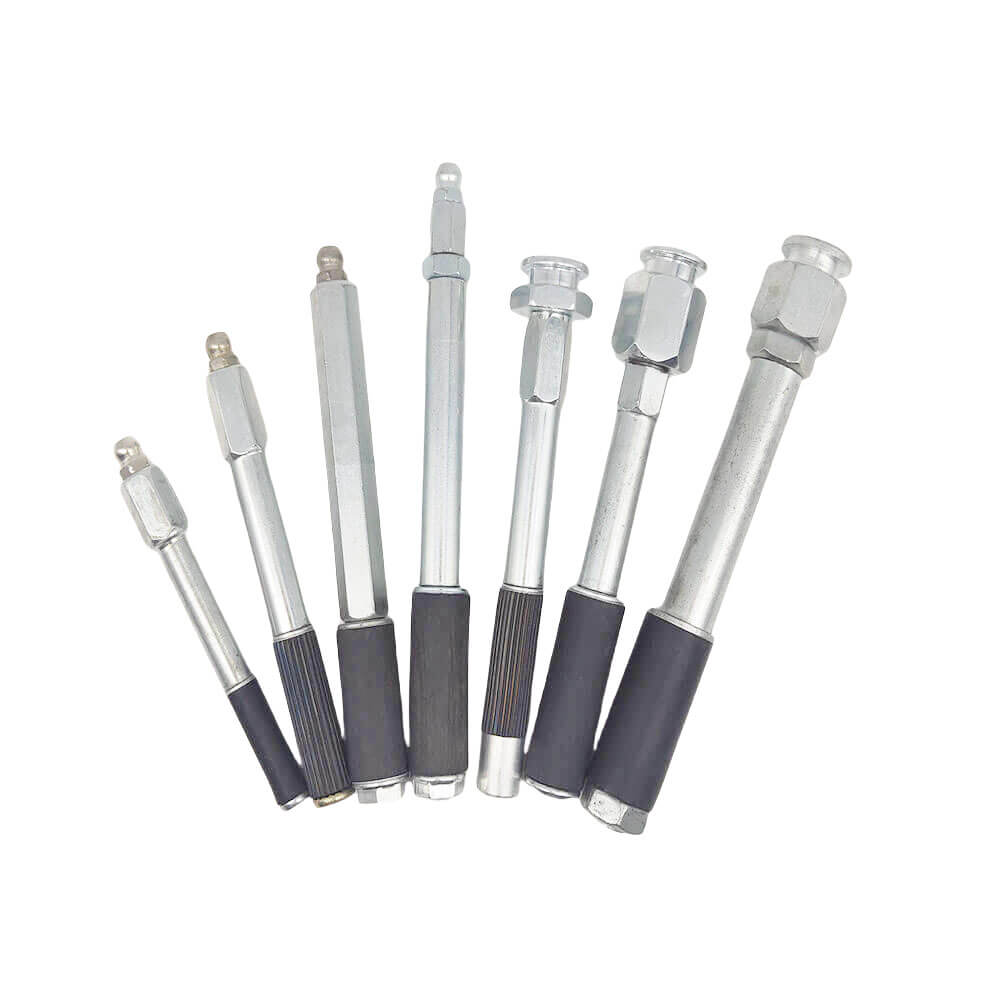
- Pick the perfect packer: Consider factors like the application, concrete conditions, and the type of grout or repair material you’ll be using when selecting an injection packer. Different packers cater to specific needs.
- Install the packer: Depending on the type of packer, insert it into the pre-drilled hole by hand, hammer it in gently, or use a specialized installation tool. Ensure a snug fit and a tight seal against the concrete surface.
3. Connecting the Injection Equipment
Now it’s time to connect the tools that will deliver the injection material:
- Attach the equipment: Using the appropriate fittings or connections, connect the injection equipment, such as a grout pump or injection gun, to the installed packer.
- Secure the connection: Double-check that the connection between the packer and the injection equipment is secure and leak-free to maintain proper pressure during the injection process.
4. Performing the Injection
This is where the actual repair material is delivered into the concrete:
- Gradual injection: Slowly and steadily inject the grout or repair material through the packer. Follow the material manufacturer’s instructions regarding pressure and flow rate.
- Monitor the process: Observe the injection to ensure the material fills the intended areas within the concrete.
- Multiple packers: If using multiple packers, follow a predetermined sequence for injection to achieve complete and even coverage.
5. Monitoring and Maintaining the Injection
Maintaining control throughout the injection process is crucial:
- Continuous monitoring: Keep a close eye on the injection process, adjusting the pressure or flow rate as needed to achieve optimal results.
- Seal integrity: If the packer loosens or the seal breaks, stop the injection immediately. Reinstall the packer securely before resuming.
6. Packer Removal (if applicable)
Once the injection is complete, you may need to remove the packer:
- Temporary packers: For temporary or single-use packers, remove them manually, with pliers or other tools, or unscrew them if they have a threaded design.
Conclusion
By following these steps and adhering to best practices, you can ensure the successful use of injection packers for your concrete repair and grouting projects. Remember, proper planning, selecting the right packer, and meticulous execution are key to achieving a durable and long-lasting repair.

